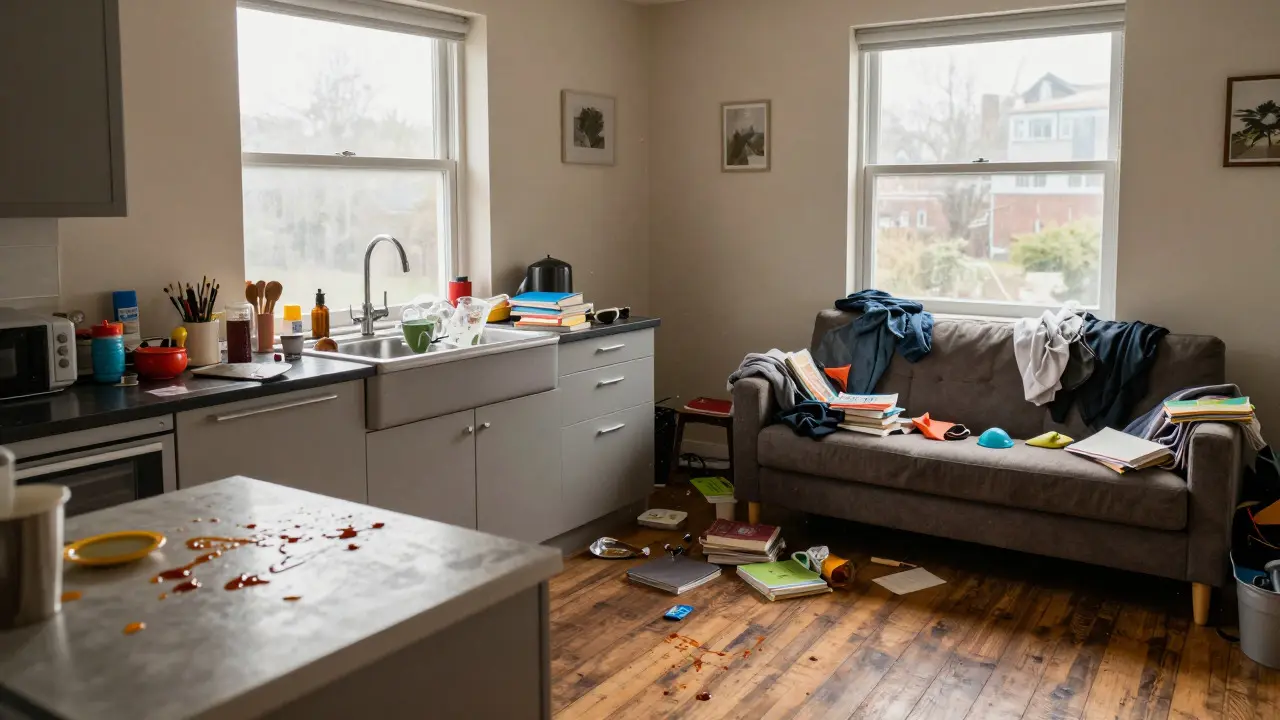
Imagine waking up on a Monday morning in your UK student house is a shared residential property typically occupied by university students, often featuring communal kitchens and living areas., only to find the kitchen sticky with last week’s curry sauce and the bathroom mirror fogged with mold. It happens to everyone. But you don’t need a weekend off or a professional crew to fix it. You just need a strategy that respects your tight schedule and limited budget.
This guide gives you a realistic, hour-by-hour breakdown of how to transform a messy shared flat into a fresh, livable space in a single day. We’re not talking about moving out standards; we’re talking about making your home feel new again so you can actually enjoy the rest of the term. Whether you’re living with three roommates or five, this plan works because it relies on division of labor rather than individual heroics.
Why Spring Cleaning Matters for Students
It’s easy to think that cleaning is just about aesthetics, but in a shared shared accommodation is housing where multiple unrelated individuals live together, requiring cooperative maintenance and rule-setting., it’s about mental health and conflict prevention. Clutter accumulates fast when four people are cooking, studying, and sleeping in the same square footage. Dust bunnies under beds aren’t just ugly; they harbor allergens that can make you feel sluggish during exam periods.
Moreover, landlords and letting agencies in the UK expect a certain level of hygiene. While you don’t need to scrub every tile until it shines like a mirror, visible neglect can lead to disputes over deposits at the end of the year. A regular spring clean resets the baseline. It stops the slow decay of the living environment before it becomes overwhelming. Think of it as hitting the 'restart' button on your living space.
Preparation: The Night Before
You cannot clean effectively if you are hunting for supplies while trying to wipe down counters. The most important part of a one-day plan happens the night before. Gather your team and assign roles based on who has free time. If everyone is working full-time, pick the two people with the lightest schedules for the heavy lifting.
- Gather Supplies: Buy multi-surface cleaners, microfibre cloths, sponges, rubber gloves, and a bucket. Don’t buy ten different products. One good all-purpose cleaner and white vinegar (for glass and hard water) cover 90% of needs.
- Declutter First: Tell everyone to clear their personal items from common areas. Books off the sofa, clothes off the floor, dishes in the sink. If it doesn’t belong in the shared space, it goes back to the bedroom.
- Set the Schedule: Agree on start and end times. A six-hour block is realistic. Start at 10 AM, finish by 4 PM. Set a timer for breaks.
- Create a Playlist: Music keeps energy up. Pick something upbeat. Silence makes cleaning feel like punishment.
The Morning Block: High-Traffic Zones
Start the day with the areas that get used the most: the kitchen and the bathroom. These rooms generate the most mess and smell, so tackling them first creates immediate momentum. Divide the group into two teams. Team A takes the kitchen; Team B takes the bathroom. They should work simultaneously to save time.
- Kitchen Team: Empty the fridge and throw away expired food. Wipe shelves inside and out. Clean the outside of appliances (fridge, oven, microwave). Scrub the sink and tap. Sweep and mop the floor last.
- Bathroom Team: Scrub the toilet bowl and seat. Clean the shower head and tiles. Wipe the mirror and sink. Mop the floor. Change the towels.
- Check-In: After 90 minutes, both teams meet in the hallway. Quick status update. If one area is done early, that person helps the other team or starts on the living room.
By mid-morning, the two biggest sources of grime are handled. Take a 15-minute break. Eat something. Hydrate. This prevents burnout later in the day.

The Midday Block: Living Spaces and Bedrooms
After lunch, shift focus to the living room and bedrooms. The living room is often the messiest area because it’s where people relax. Duvets on sofas, empty pizza boxes, and scattered cushions create visual noise. Each person is responsible for their own bedroom, but the living room is a collective effort.
- Living Room: Vacuum under furniture. Dust shelves and skirting boards. Wipe down TV screens and windowsills. Organize cables. Make sure the sofa is vacuumed or wiped down.
- Bedrooms: Make the bed. Dust surfaces. Vacuum the carpet or mop the wood. Tidy up personal clutter. Open windows for ventilation.
- Hallway and Entryway: Wipe door handles and light switches. Vacuum the rug. Ensure coats and shoes are organized, not piled up.
Assign specific zones to specific people to avoid stepping on toes. For example, Person 1 cleans the left side of the living room, Person 2 cleans the right side. This prevents overlap and ensures no spot is missed.
The Afternoon Block: Final Touches and Maintenance
The final two hours are for details and setting up a system to keep the place clean. This is where many student houses fail-they do a big clean once a month and let it slide for the next. Instead, use this time to establish a weekly routine.
- Detail Work: Check baseboards for dust. Clean window frames. Wipe down light fixtures. Inspect corners for cobwebs.
- Trash Run: Take all bins to the street or recycling point. Replace liners.
- Routine Setup: Create a simple weekly rotation chart. Who cooks? Who does dishes? Who takes out trash? Post it on the fridge. Accountability matters more than motivation.
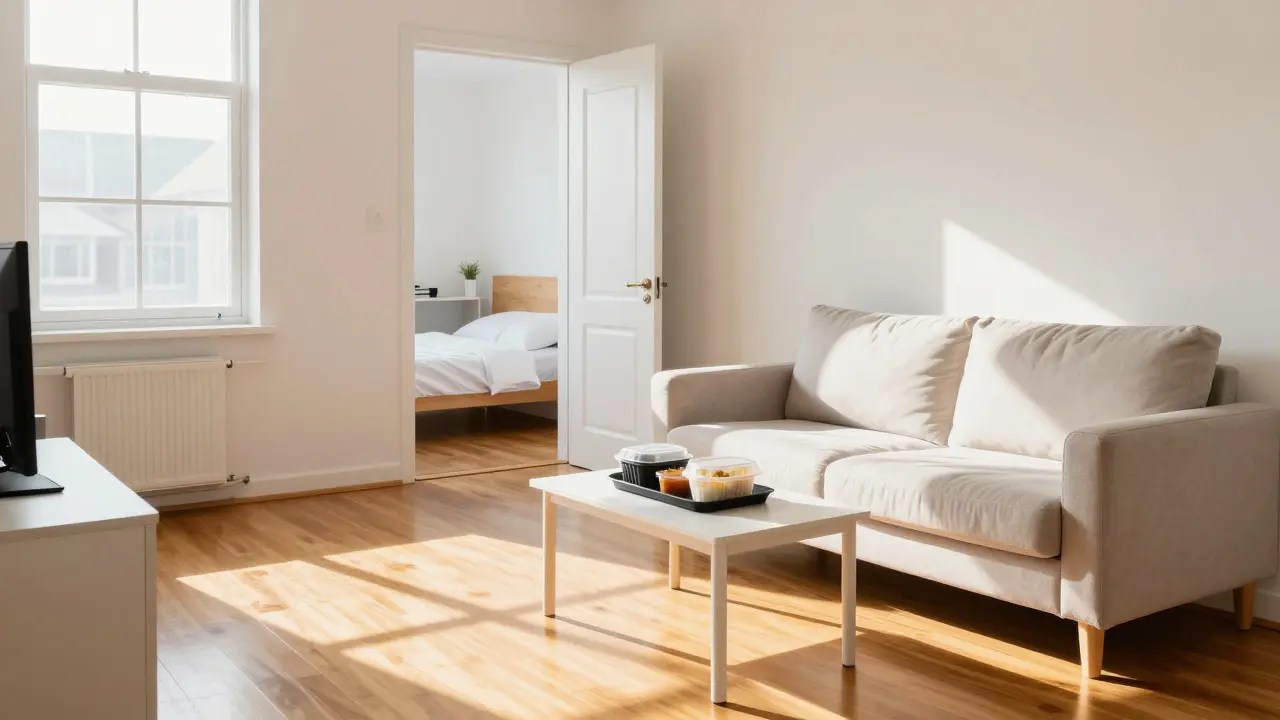
- Celebrate: Order takeout or cook a meal together. You’ve earned it. A clean house feels better when you’re relaxing in it with friends.
Common Pitfalls to Avoid
Even with a plan, things can go wrong. Here are the most common mistakes student groups make and how to fix them.
| Mistake | Why It Fails | Solution |
|---|---|---|
| One person does everything | Leads to resentment and burnout | Split tasks evenly based on skill/time |
| No supplies ready | Loses momentum, causes delays | Buy supplies the day before |
| Ignoring ventilation | Traps smells and moisture | Open windows throughout the process |
| Perfectionism | Takes too long, unrealistic expectations | Aim for 'clean,' not 'showroom' |
Another major pitfall is skipping the 'declutter' phase. If you try to clean around piles of junk, you’ll never finish. Clear the space first, then clean. It’s a simple rule that saves hours.
Frequently Asked Questions
How much does it cost to clean a student house?
For a DIY clean, expect to spend between £20 and £40 on supplies like cleaners, sponges, and gloves. If you hire professionals, rates in the UK vary, but for a standard 2-3 bedroom flat, you might pay between £100 and £150 depending on the location and depth of clean required.
What is the best way to divide cleaning tasks among roommates?
Use a rotation system. Assign specific zones (kitchen, bathroom, living room) to different people each week. Alternatively, split tasks by type: one person handles floors, another handles dusting, etc. The key is fairness and clarity. Write it down and stick to it.
Do I need to clean the carpets professionally?
Not necessarily. For daily maintenance, a good vacuum is enough. For a spring clean, consider renting a carpet extractor or using a steam cleaner if stains are present. Professional cleaning is only needed if there are deep stains, pet hair, or significant damage.
How often should student houses be deep cleaned?
Aim for a deep clean twice a year: once in spring (March/April) and once in autumn (September/October). Between these, maintain cleanliness with weekly surface cleaning and daily tidying habits to prevent buildup.
What should I do if a roommate refuses to help?
Have a calm conversation about expectations. Reference the lease agreement if necessary. If the issue persists, document the mess and discuss splitting the cost of professional cleaning as a consequence. Clear communication usually resolves most conflicts before they escalate.